Process

How your insurance repair works.

Most of our repairs are arranged through an insurer. From the initial claim to handing your vehicle back, we manage the repair process and keep you informed along the way.
01 to 02

Claim and booking

Your insurer nominates us, we ring you, and the car is booked in with dates and parts on order.
01

Your insurer nominates us

The claim comes through your insurer. We contact you within a day to arrange bringing the car in.
02

Booked in and dated

We give you repair dates and order the parts the job needs, including extras like a bull bar or custom wheels, which we organise through our suppliers so you are not chasing them yourself. We do not arrange paint protection. Most jobs come in one week and go back the next, though the real timing depends on insurer approval and parts arriving.
03 to 05

Assessment and method

Nothing is touched until the damage is measured, the car is scanned and the repair method is agreed.
03

Assessment and measurement

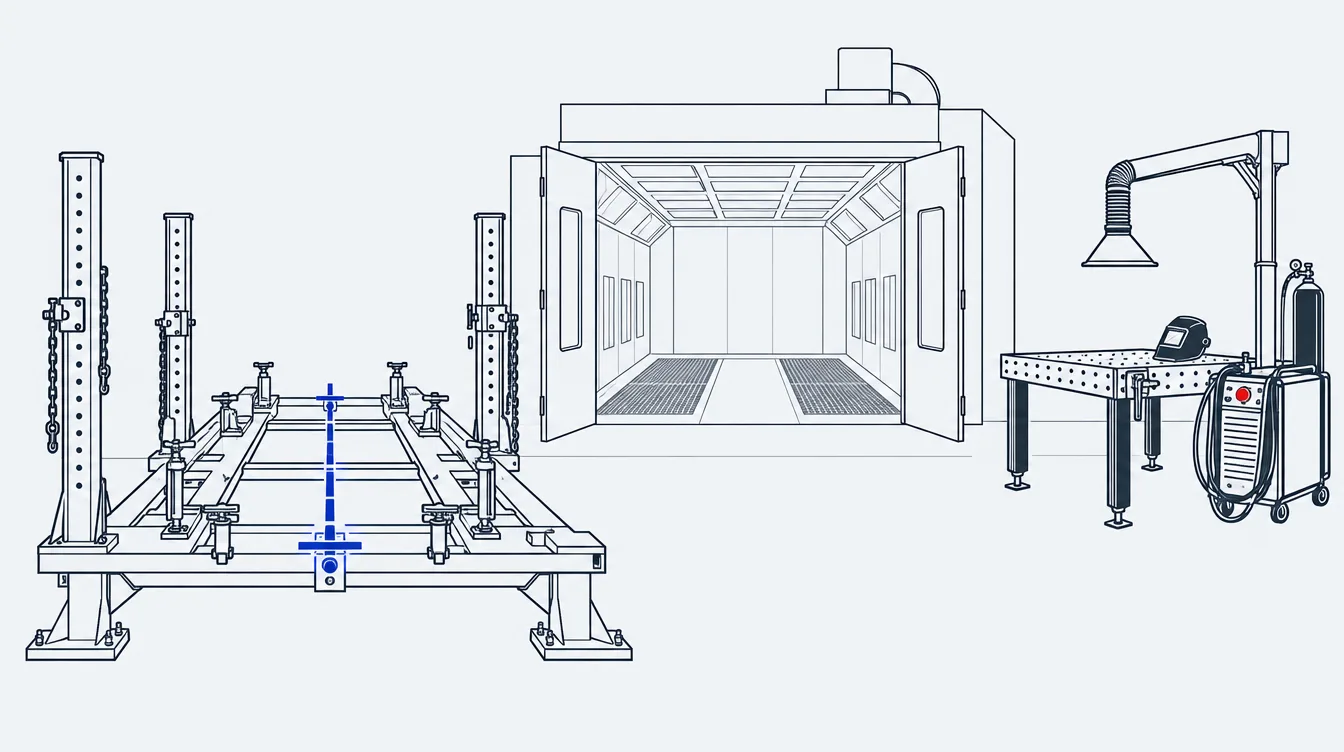
We photograph any additional damage, identify the required parts, and measure the structure on a Global Jig system when structural alignment is needed.
04

Full system scan

We scan the car’s electronic systems and check for faults, identifying any issues as early as possible.
05

Liaison with insurer and manufacturer

We agree the repair method against the maker’s published procedure and deal with the insurer from there.
06 to 08

The repair

Stripped down, structure repaired and measured again, then painted in the booth.
06

Strip down

The damaged area is pulled apart so the repair can be done properly, not just covered over.
07

Structural and panel repair

Sections are repaired or replaced to specification, welded with the correct process, then measured again.
08

Paint and refinishing

PPG Envirobase waterborne colour, applied with SATA equipment and painted in a Lowbake booth.
09 to 11

Back to you

Rebuilt, recalibrated and checked against specification, then we contact you to collect it.
09

Reassembly and calibration

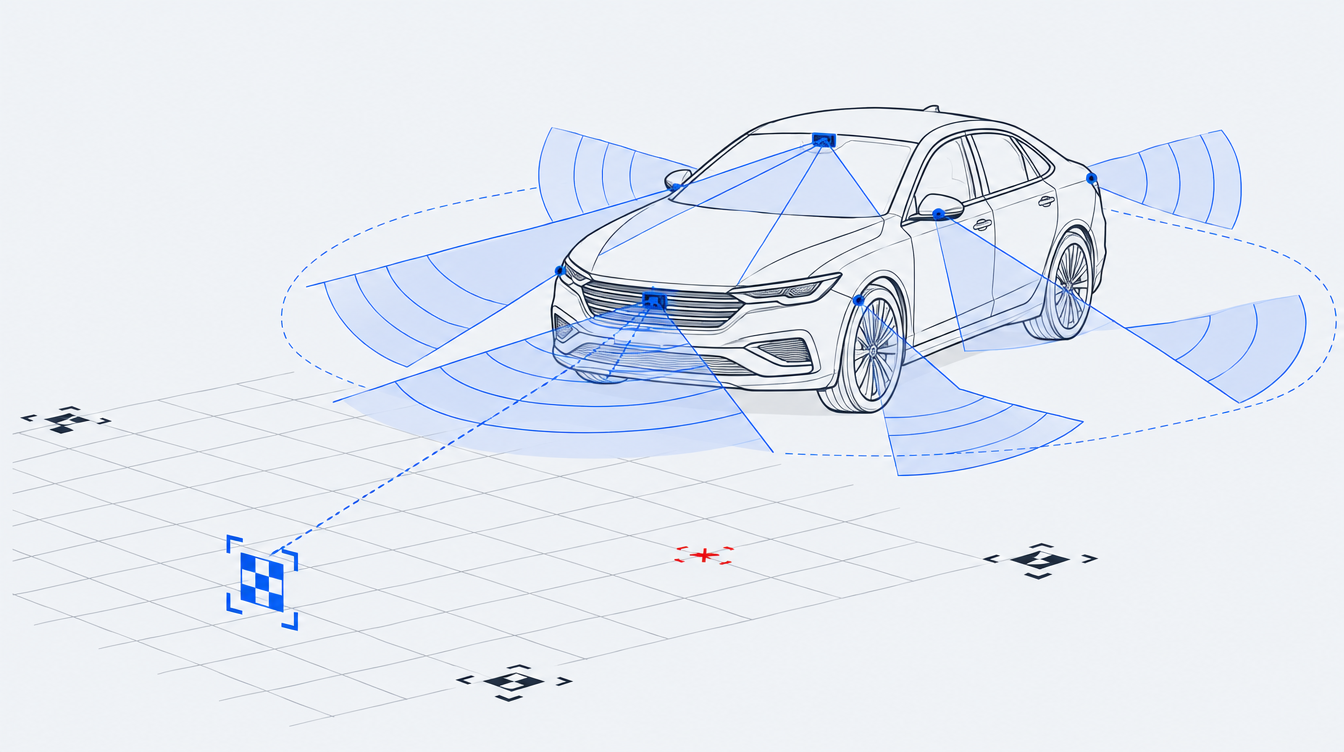
The car is put back together, and driver assistance systems are recalibrated by a specialist (see below).
10

Buff and detail

The finish is buffed and the car is detailed, inside and out.
11

Quality check and handover

A final check against specification, then we contact you to collect the car.
ADAS Calibration
Calibration
Modern cars carry radar, cameras and blind-spot sensors. After a repair these have to be recalibrated by a specialist, or the safety systems will not read the road correctly. We make sure that is done.
Specification

The safety rating stays with the car.

A vehicle earns its ANCAP rating as it was built. Repairing to manufacturer specification, with the structure measured and the correct materials and welds used, is how that rating is retained.
We work in liaison with manufacturers and insurers, and we do not substitute a method the maker does not publish. We stand behind our workmanship with a five year warranty on the repairs we carry out.
On the floor
Global Jig chassis measuring
Structure checked against factory geometry, before and after
Lowbake Spray booths
Controlled conditions for a durable, even finish
PPG Envirobase and no-bake clear
Colour matched, lower emissions, faster booth turnaround
SATA spray equipment
Consistent atomisation across the panel
GYS and Elma welding
The correct weld process for modern steels, including spot welding
Genuine parts only
No aftermarket parts, nothing compromised
On the floor

The work, start to finish.

A repair runs through measuring, welding, the booth and the final check, in the one shop on North East Road.

Workshop process video — measuring, welding, the booth and the final check. Loops here once supplied.

Equipment and suppliers

Equipment and suppliers we use.

The brands behind the work on our floor. Shown to reflect the equipment and materials we use, not a manufacturer endorsement.
Equipment Capability
PPG logo
Envirobase waterborne colour
SATA logo
Spray equipment
GYS logo
Welding and dent pulling
ELMA logo
Aluminium and steel welding
Global Jig logo
Chassis measuring, before and after